Getting started
What you need
- An iPhone or iPad running iOS/iPadOS 17 or later.
- A server you can already reach over SSH — any Linux, BSD, or macOS machine with an SSH server.
- Optional, on the server:
tmuxfor the tmux integration, andmosh-serverfor mosh connections.
Install
Get Tessera free on the App Store. Everything in this guide is included; the free app remembers one saved host.
In your language
Tessera speaks English, French, German, Spanish, Japanese, Simplified Chinese, and Traditional Chinese — the whole interface, including settings, key management, host-key prompts, and error messages. It follows your device language; to run just Tessera in another one, use iOS Settings → Apps → Tessera → Language. (The share-sheet extension, the App Store's purchase copy, and the contents of the diagnostics log stay English for now.)
Coming from another device?
If you already run Tessera on another iPhone or iPad, the first-open screen offers to inherit your setup from it directly over the local network — hosts, jump routes, and settings, with passwords and private keys never leaving the old device. See nearby setup. Otherwise, choose set up as new and carry on below.
The tour
On first launch Tessera offers a short tour of the interface — adding hosts, keys, tmux, the agent center, the swipe pad, files, and terminal input. You can skip it; to see it again later, go to settings → about → replay walkthrough.
Add your first host
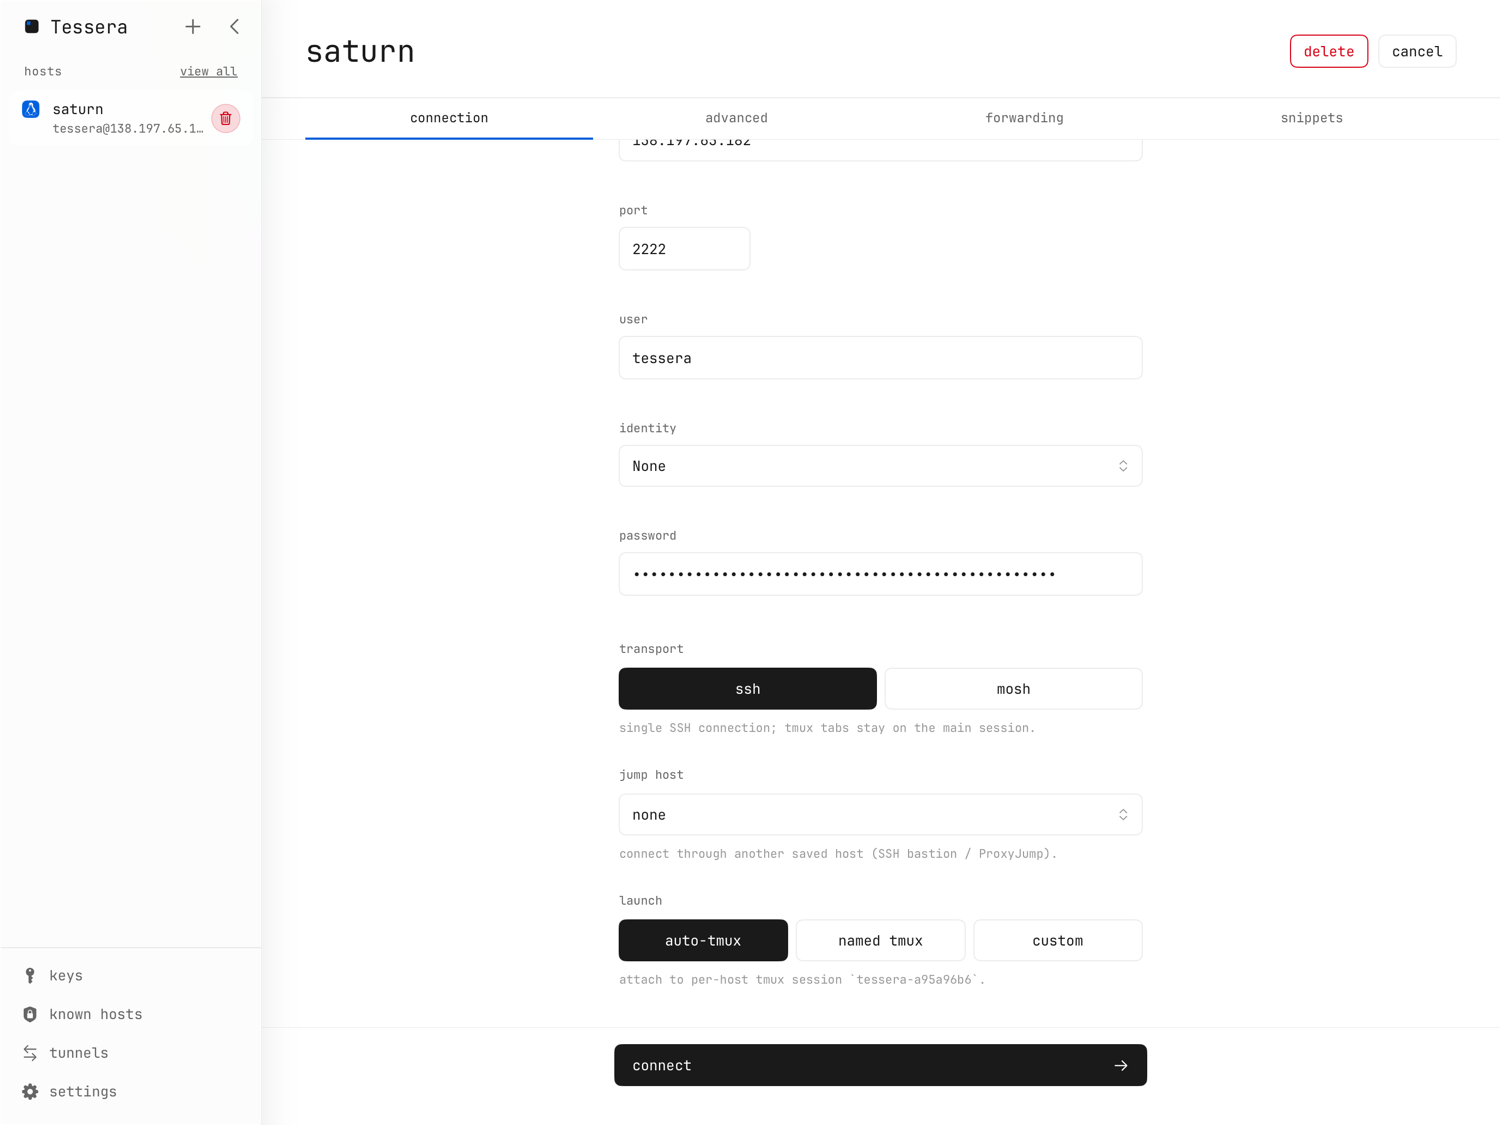
- Press ⌘N (or tap the add-host button) to open the host editor.
- Fill in name, address, port (22 unless yours differs), and user.
- Set authentication on the connection tab: pick a saved key in the identity field (the better default — see keys), or type a password. Passwords are kept only for the live session and never stored.
- Tap connect.
The full set of host options — transports, launch modes, jump hosts, snippets — is covered in hosts & connections.
Trust the host key
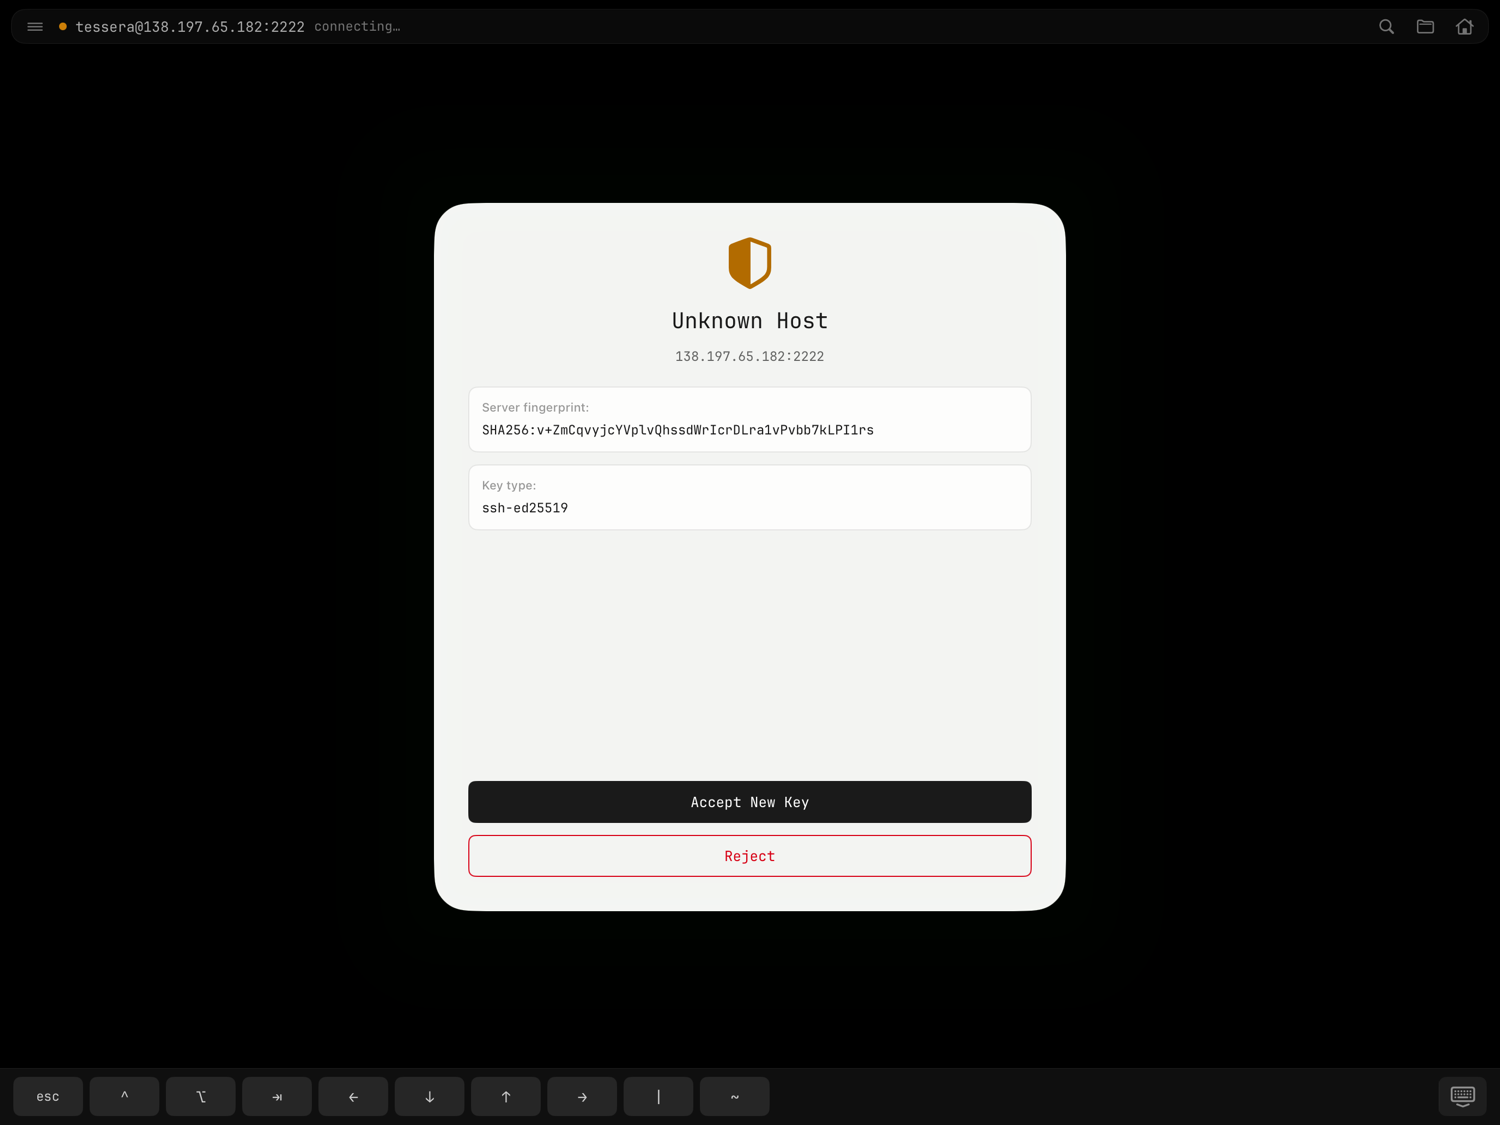
The first time you connect to a server, Tessera stops with an unknown host
sheet showing the server's SHA-256 fingerprint and key type. Verify the
fingerprint against a source you trust (your provider's dashboard, or
ssh-keygen -lf /etc/ssh/ssh_host_ed25519_key.pub on the server itself), then
tap Trust & Connect. Details in host key verification.
Set up a key
Passwords work, but a key is safer and less typing:
- Open the keys page (sidebar on iPad, keys tab on iPhone) and tap + generate.
- Choose Ed25519 (the fast, modern default). Tessera then offers a recovery passphrase export — worth doing now; it's the only way to restore a key later.
- Open the key, tap copy to host…, and pick the host you just connected
to. Tessera appends the public key to
~/.ssh/authorized_keyson the server. - Back in the host editor, select the key as the host's identity.
Everything about keys — Secure Enclave keys, biometrics, recovery files — is in keys.
The local network permission
iOS will ask for Local Network permission the first time Tessera needs your LAN — connecting to a server on your local network, forwarding a local port, or finding your other device for nearby setup. If you denied it by mistake, re-enable it in the iOS Settings app under Tessera.